400E Brake Caliper Rebuild
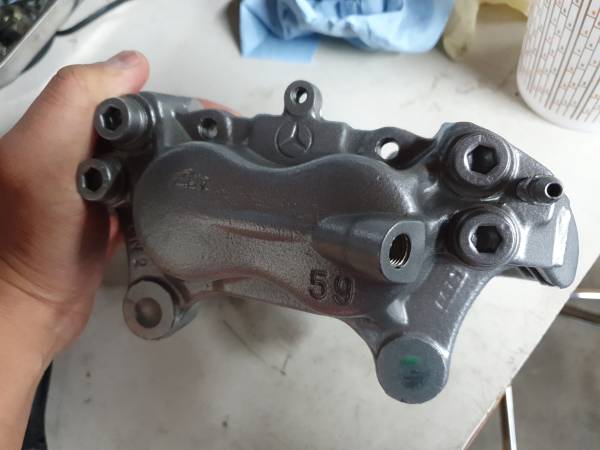
This article is a reference for rebuilding the 4-piston fixed front brake calipers and the 2-piston fixed rear brake calipers for a Mercedes Benz 400E. General information in this article can be referred to for similar brake calipers. Part numbers will be specific to the brake calipers on the 400E.
| Time | 2 hours |
|---|---|
| Cost | |
| Difficulty | |
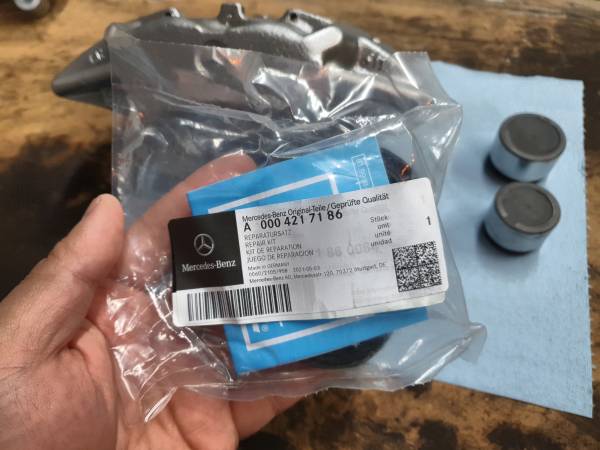
| Parts Required | Front caliper rebuild kit (000 421 71 86, requires 2) Dust cap for 42mm piston (000 421 17 20, requires 4) Dust cap for 38mm piston (000 421 16 20, requires 4) Rear caliper rebuild kit (000 421 72 86, requires 2) Bleeder valve (000 421 27 65, requires 4) Bleeder valve cap (000 421 08 87, requires 4) |
| Applicable models | W124 400E |
Prerequisites
- Remove brake pads
- Remove calipers from front and rear axles
- Remove brake line from caliper
Front Calipers
Disassemble
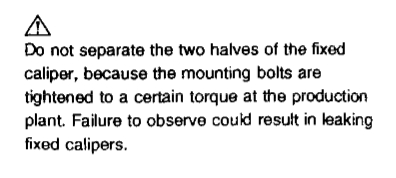
Disassembly does not include separating the caliper halves. If the caliper halves are not leaking brake fluid, then there is no reason to separate the halves and replace the special o-ring inside. Furthermore, Mercedes does not recommend separating the calipers for special torque procedures that are not easily replicated.
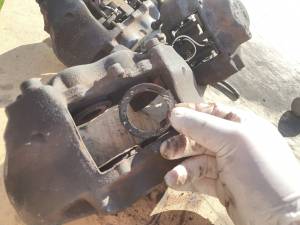
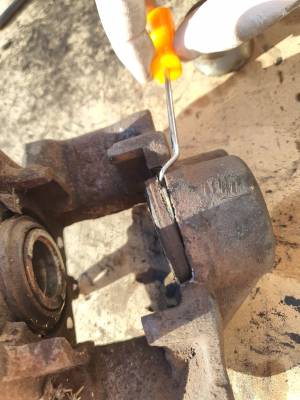
- Remove metal heat shields from pistons with pliers or screwdriver
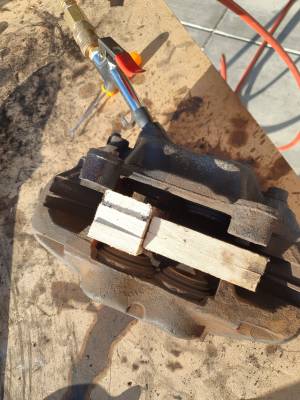
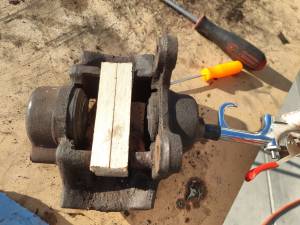
- Force compressed air (100 psi) into the hole where the brake line goes to remove pistons
- Use 1“ piece of wood as a stop for the pistons
- Use 1.5” piece of wood on a pair of opposing pistons to prevent them from moving
- Use brake piston pliers if necessary
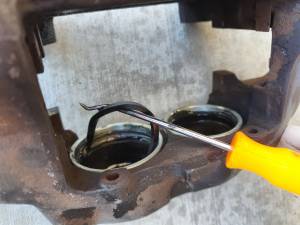
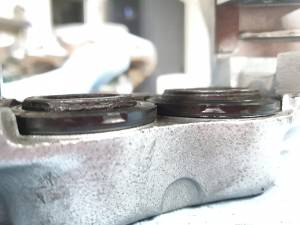
- Remove piston dust boot seal
- Remove square seal in cylinder
Reassemble
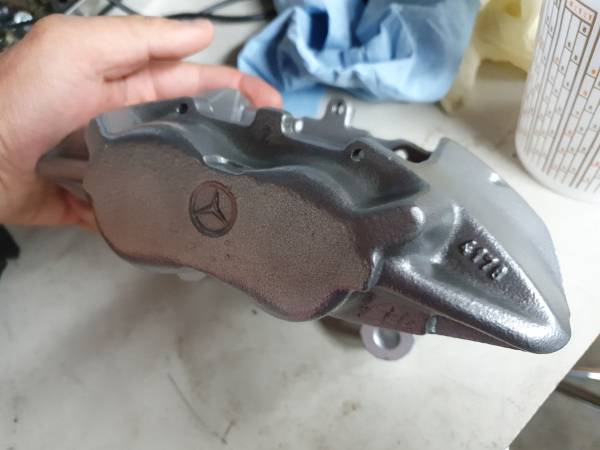
Refinishing the calipers with paint or powder coat is recommended. Make sure to mask off appropriate areas before painting (inside the caliper, pistons, dust seal groove, bleeder thread, brake line thread, mounting threads, sensor wear bracket mounting thread)
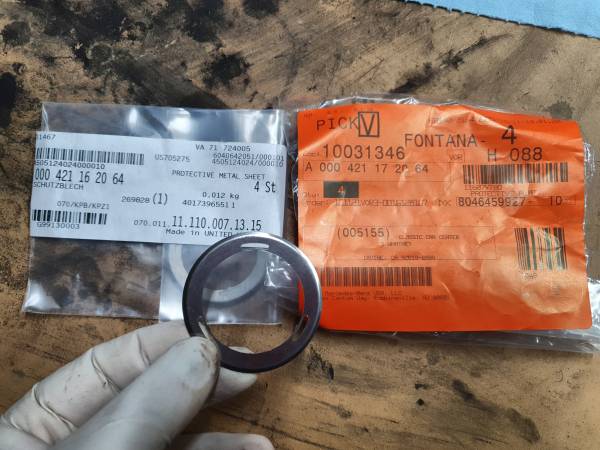
There are 2 parts to order for rebuilding the front calipers. The caliper repair kit (000 421 71 86, requires 2) and the round metal heat shields (000 421 17 20 and 000 421 16 20, requires 4 each).
- Clean the caliper. Blow out any remaining paint dust, dirt, or oil from inside the caliper through the holes for the brake line, bleeder valve, and inside the cylinders
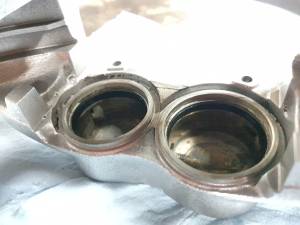
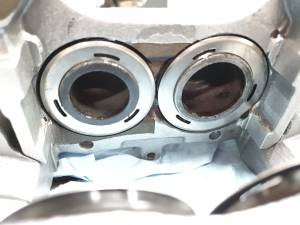
- Install new square seals in cylinder bore
- Clean the pistons
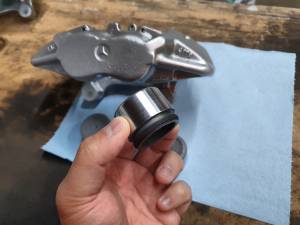
- Install dust cap on the piston
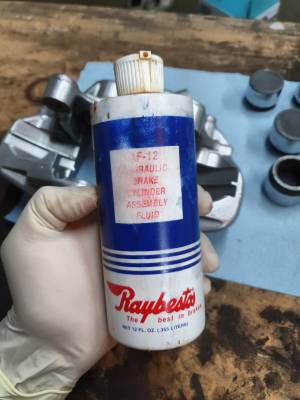
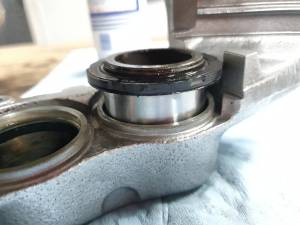
- Lubricate piston and cylinder with brake assembly fluid and reinsert piston into cylinder bore.
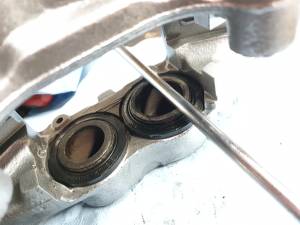
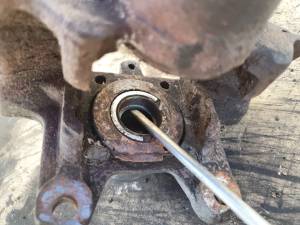
- Use a long screw driver or a long 1/4“ extension across the top of the piston to help drive the piston down
- Seal dust cap along the collar of the cylinder bore
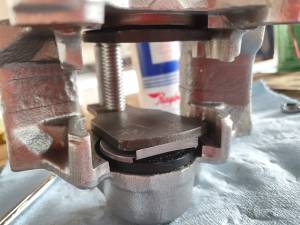
- Install new metal heat shields on top of the pistons
- Install new brake bleeder valves
Rear Calipers
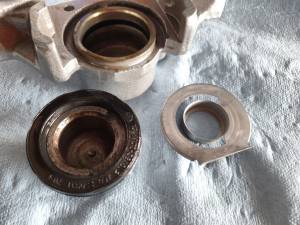
Procedures to disassemble and rebuild the rear calipers are very similar to the front. The major difference being the metal heat shield and piston orientation during reassembly.
Disassemble
Disassembly does not include separating the caliper halves. If the caliper halves are not leaking brake fluid, then there is no reason to separate the halves and replace the special o-ring inside. Furthermore, Mercedes does not recommend separating the calipers for special torque procedures that are not easily replicated.

- Remove metal heat shields from pistons by prying out with screwdriver
- Force compressed air (100 psi) into the hole where the brake line goes to remove pistons
- Use 1“ piece of wood as a stop for the pistons
- Use brake piston pliers if necessary
- Remove piston dust boot seal
- Remove square seal in cylinder
Reassemble
Refinishing the calipers with paint or powder coat is recommended. Make sure to mask off appropriate areas before painting (inside the caliper, pistons, dust seal groove, bleeder thread, brake line thread, mounting threads, sensor wear bracket mounting thread)
To rebuild the rear calipers, the repair kit (000 421 72 86, requires 2) needs to be ordered. This kit comes with the square seals, dust seals, and the metal heat shields required for caliper reassembly.
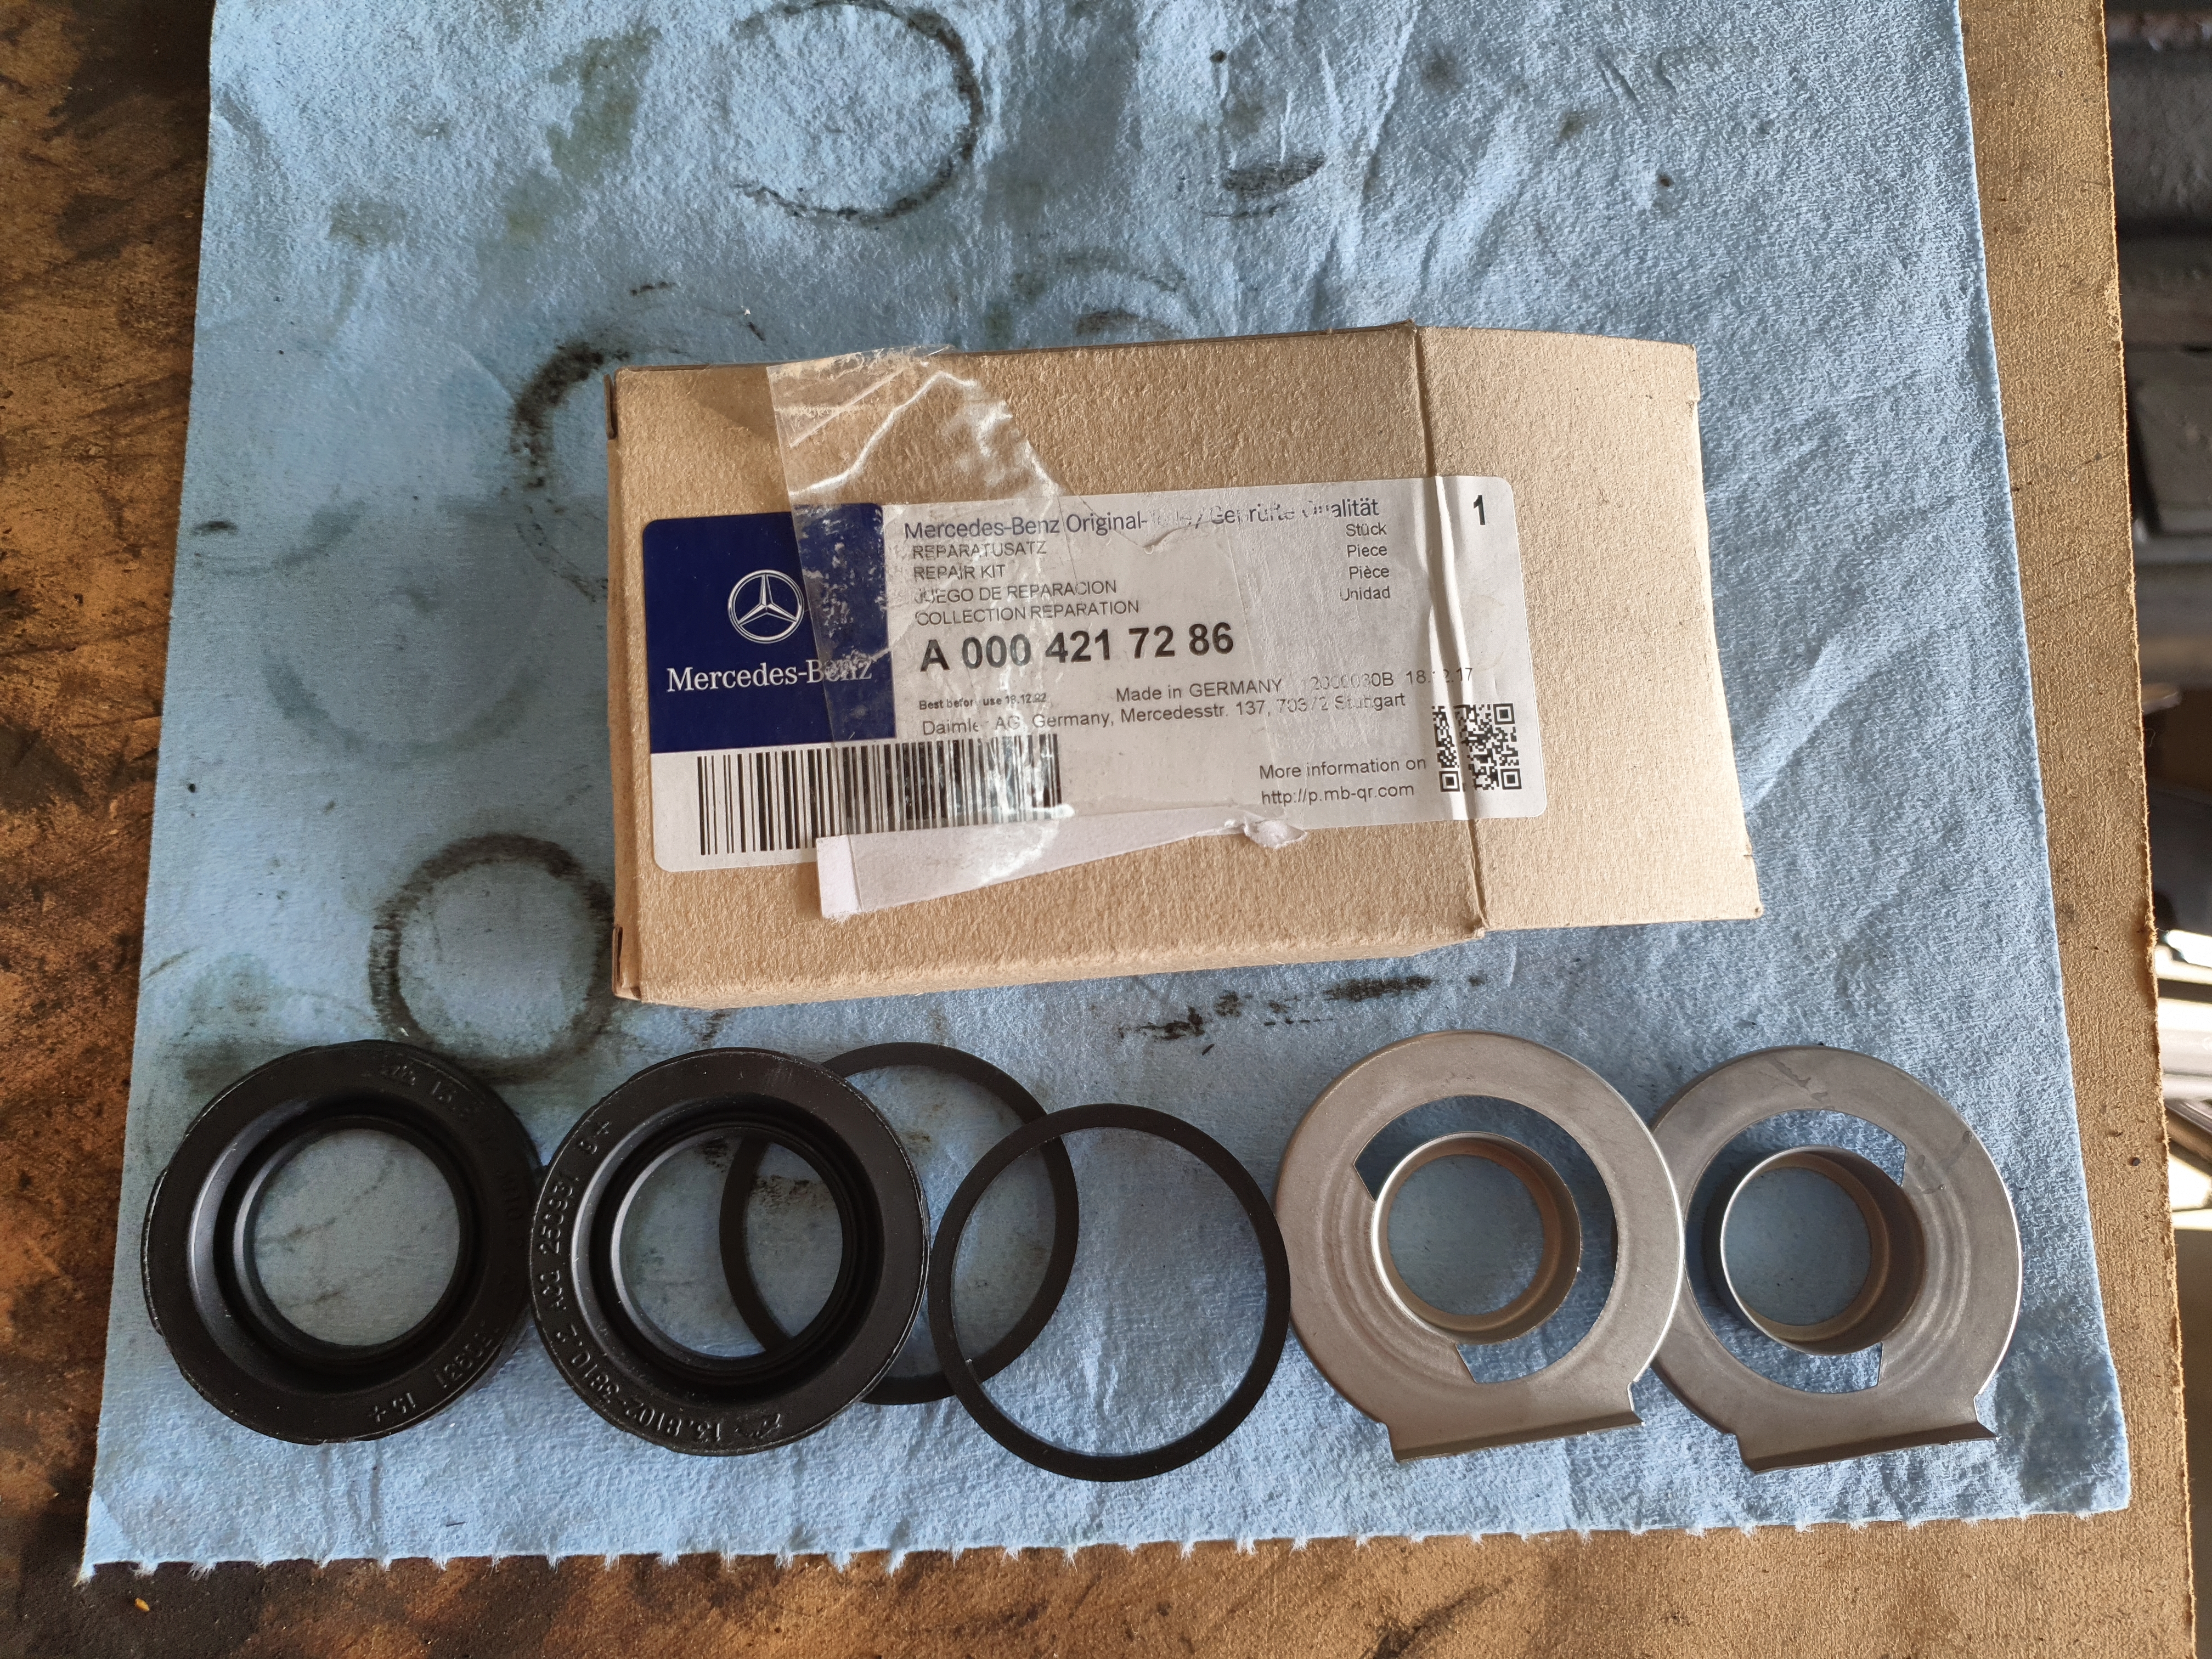
- Clean the caliper. Blow out any remaining paint dust, dirt, or oil from inside the caliper through the holes for the brake line, bleeder valve, and inside the cylinders
- Install new square seals in cylinder bore
- Clean the pistons
- Install dust cap on the piston
- Lubricate piston and cylinder with brake assembly fluid and reinsert piston into cylinder bore.
- Check orientation of piston with heat shield before inserting piston into cylinder bore
- Use a long screw driver or a long 1/4” extension across the top of the piston to help drive the piston down
- Seal dust cap along the collar of the cylinder bore
- Install new metal heat shields on top of the pistons
- Use caliper piston compressor if necessary
- Install new brake bleeder valves
