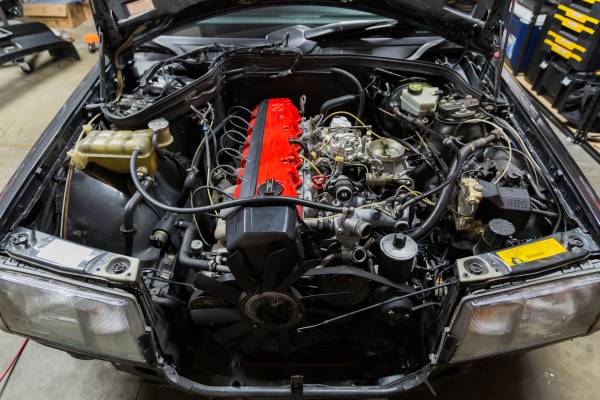
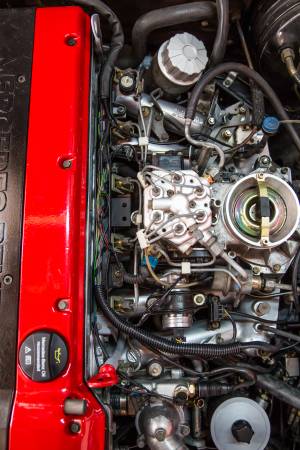
M104.98x Motor Swap in a 190E
One of the most common engine swaps for a 190E is the installation of the bigger M103 3.0L motor. The swap from the smaller 2.6L M103 to a 3.0L M103 is a direct bolt-on swap (assuming the engines from the same cutoff years are used) and gives a small increase of around 30HP. Another option is to swap in the CIS version of the M104 engine found on the earliest M104 powered cars (1990-1992 300CE and 1990-1993 300SL). The injection system is still CIS and the ignition system is still EZL, but additional work is required to make the swap complete.
| Time | 10 hours |
|---|---|
| Cost | |
| Difficulty | |
| Parts Required | |
| Applicable models | W201 (specifically 1992-1993 190E 2.6, other models need adaptation) |
Original M103 Engine Removal
- Disconnect battery
- Remove front bumper
- Remove air filter
- Remove upper radiator support
- Vacuum lines
- EGR, 2 lines
- Smog pump
- EZL
- Check valve at driver fender
- Two at the rear of intake manifold
- Black striped white vacuum line for throttle body
- Brake booster line
- Cooling System
- Drain and remove radiator
- Disconnect water heater lines
- Supply at passenger fender
- Return at rear lifting hook
- Remove overflow pipe to coolant reservoir
- AC System
- Vacuum AC system and remove condenser
- Wiring under both headlights and loom ties
- Bolt on driver side securing pipe to chassis
- Disconnect AC hose on driver fender
- Power steering
- Siphon/extract power steering fluid
- Disconnect supply and return lines on pump
- Disconnect fuel lines
- Supply at fuel distributor, 2x 17mm
- Return behind ignition coil, 17mm and 14mm
- Disconnect throttle cables
- Disconnect main engine wiring and set aside
- 4 prong CIS
- 1 prong temperature sensor
- 2 prong temperature sensor
- Cold start valve
- EHA
- Idle microswitch
- Airflow potentiometer
- IACV
- AC compressor
- Throttle position switch
- Ground wire at intake
- 2 plugs at the EZL
- Disconnect auxiliary wiring and set aside
- Oil level sensor
- Oil pressure sensor
- Starter
- 10mm bolt at rear of intake manifold
- Other wires
- Cruise control servo (8 pin connector under ABS pump)
- Disconnect alternator
- Crankshaft position sensor (rear) at EZL
- Crankshaft position sensor (front) underneath X92
- Ignition coil
- Disconnect exhaust downpipes from exhaust manifold
- Transmission
- Remove transmission mount
- Disconnect driveshaft from flex joint
- Disconnect transmission shifter linkage(s)
- Suggest removing entirely to avoid bending the rods accidentally
- Disconnect transmission slave cylinder fluid line (manuals only)
- Unbolt ground from bell housing
- Disconnect speedometer cable
- Unbolt engine mounts from chassis
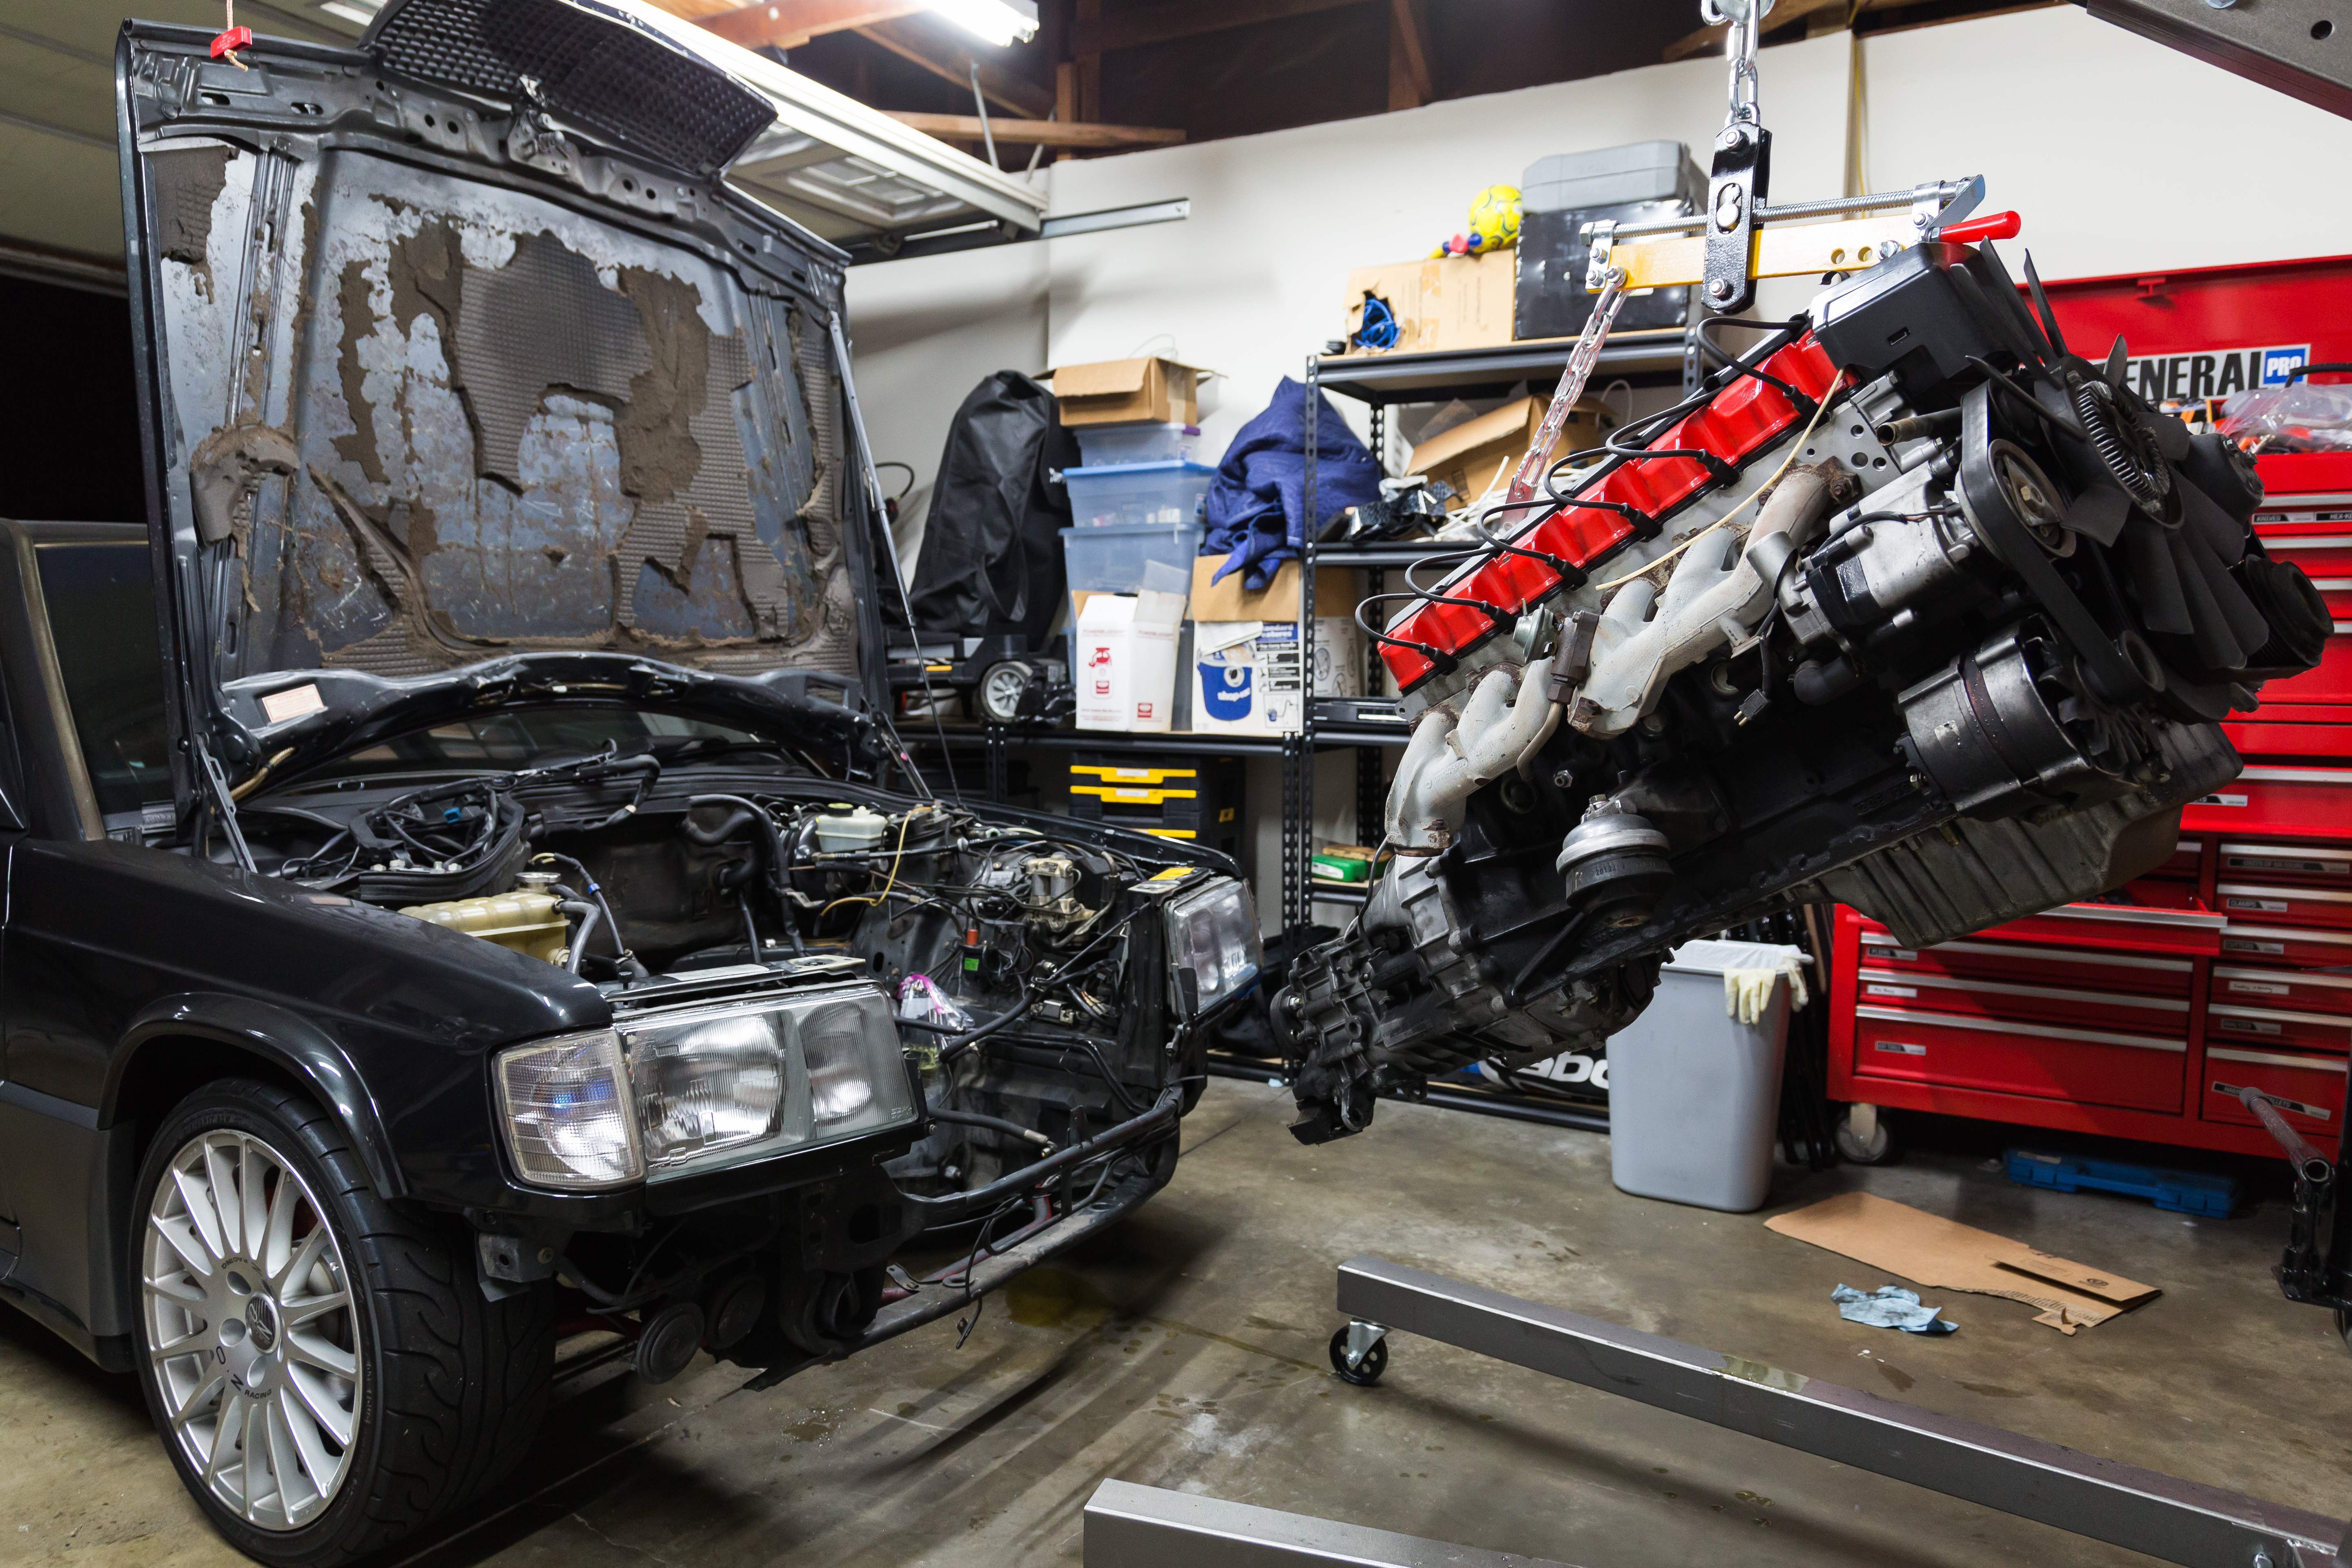
- Secure engine to hoist and lift to remove. Remove with transmission attached.
M104.980 Engine Install
- Although it is possible to install the starter later, it is much easier to do it now. Bolt starter to the engine before lowering.
- Lower engine from hoist into engine bay and align motor mounts. Install without transmission.
- Connect fuel lines
- Main wiring harness
- See conversion task below
- Auxiliary wiring harness / Starter
- Set starter in place if it isn't already and reconnect wires. Bolt starter to transmission later.
- Connect oil pressure and oil level sensor wires
- Bolt wire bracket to rear of intake manifold (10mm)
- Other wires
- Connect alternator wires coming from right fender
- Connect 8 pin cruise control wires
- Connect rear crankshaft position sensor wire
- Connect front crankshaft position sensor under X11 diagnostic port
- Connect throttle cable
- Readjust idle position
- Connect power steering hoses
- Cooling System
- Connect heater return hose at back of engine
- Use W124 water reservoir overflow hose and 190E valve from thermostat cover
- Drop in radiator and connect hoses
- Vacuum system
- Use T connector at front vacuum nipple to connect to EZL and EGR/Smog pump solenoid
- Connect black striped white vacuum line from throttle body to check valve at fender behind headlight
- Connect brake booster
- Connect 3 vacuum line at rear of intake manifold
- The M104.98x introduces a new vacuum nipple. Use it however you wish or block it off.
- Fluid fill
- Power steering fluid
- Motor oil
- Coolant
- Brake fluid
- Charge AC
Conversion Tasks
Engine support bracket
AC / Fuel Cooling Manifold
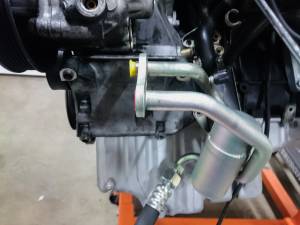
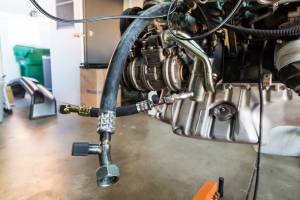
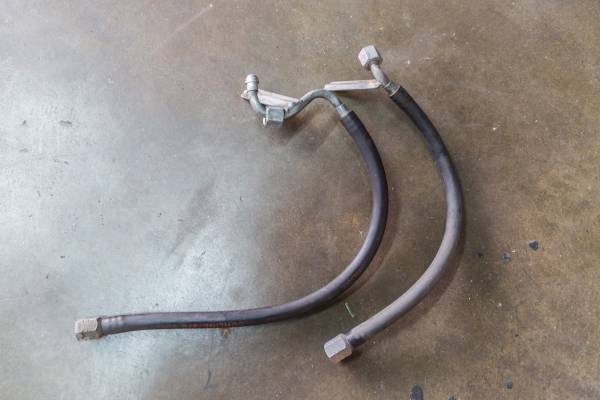
The M104 A/C manifold's low pressure hose cannot reach the connection point at the edge of the fender on a 190E chassis. The W124 has the connection point closer underneath the brake booster line and is about 5 inches shorter. Additionally, the high pressure hose is slightly longer and uses a 90 degree bend that is not compatible with a 190E 2.6 A/C condenser.
Using the original 190E A/C manifold hoses not work entirely either. Mounting the 190E A/C manifold to the engine block introduces a problem where the A/C compressor can no longer be mounted to the accessory bracket.
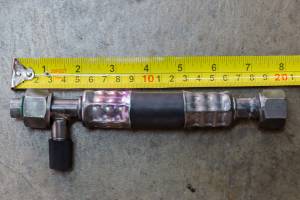
A solution to fix this is to use the M104 A/C manifold (104 230 04 56 is NLA, aftermarket solution: Four Seasons 55586) and have both hoses custom made. The upper hose needs to be simply matched to the original length of the 190E part and the lower hose comes out to around 20cm (I would try 19.5cm for an easier fit. 20cm is slightly too long). An additional option is to have a high pressure diagnostic port installed as well since this port will be lost from switching to the M104 A/C manifold.
Alternator
The wire mounting location differs on the alternator for a W124 versus a W201. The alternator for the W124 will work, but the wires will be kinked in an unnatural position. You will need to reclock the alternator by removing the screws holding the 2 halves of the alternator together and turning them to match how a 190E alternator looks.
Wiring Harness
The M104.98x now has an updated version of CIS that is not directly compatible with the older version. Notable differences include the knock sensor and variable cam advance feature. There are two approaches to getting the wiring completed for this swap.
Borrow existing wiring from late model M103 motor
- Connect without modifications
- Connect 2 plugs at EZL
- Connect single pin connector by ignition coil
- Connect X92 ground wire
- Connect AC compressor wires (blue/green, white, blue/red)
- Connect IACV
- Connect throttle position wires (brown/yellow, brown, gray/yellow)
- Connect common ground at intake manifold. Include wire from ground at ignition coil bracket.
- The following require some modification
- Open the idle microswitch connector plug and reverse the orientation of the wire.
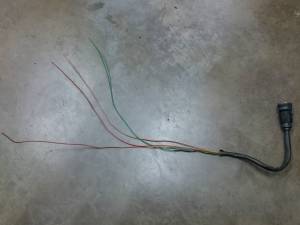
- CIS 4 prong sensor is now located at the water pump so this needs to be lengthened.
- Pin 1 - Green/ white
- Pin 2 - Green / red
- Pin 3 - Brown
- Pin 4 - Brown / white
- Lengthen and connect the 3 prong connector under fuel distributor for airflow potentiometer (brown/green, blue/black, blue/green)
- Lengthen and connect the 1 prong coolant temperature sensor (green)
- Lengthen and connect the 2 prong coolant temperature sensor (brown, green)
- Lengthen and connect cold start valve wire
Complete wiring harness transplant
Not yet written
